Tips and Tricks for Great Photoshoots
As you can imagine, I do a lot of “photoshoots” because I love creating beautiful imagery. But the love for creation doesn’t automatically mean that you’re going to create great content. There are a few things that help expedite the process in order to be able to create consistent and frequent content for my blog and Instagram. Last week my sister and her new baby came to visit LA so it was the perfect time for a fall photoshoot and Noble’s first pumpkin patch visit (and first Instagram photoshoot)!
Scout Your Location:
No matter how good you are at editing (more on that later), you are going to have to give yourself something to work with. The most important thing about finding good locations for your photoshoots is to find spots that will fit within the style and motif of your online presence.
I love blues and oranges and desaturated green colors in my Instagram feed, so I try to avoid places with lots of blacks and grays and other colors that just don’t fit into what I am trying to convey. If you do some research and make sure that the places you’re going to shoot fit into your overall profile, it is going to make the experience so much easier and go so much faster.
Stick to Your Style, Pick an Outfit to Match:


It can be super hard to find affordable looks for a styled photoshoot (especially if you’re buying something really specific and only plan to wear it once or twice). The key for me is to find places that have lots of choices and varieties in fashion, but won’t break the bank. My dress, headband and purse are all from the Wish App (super affordable and great quality). This dress was only $20 and I actually ended up getting one for me and my sister! I also got some sunglasses and a cute bracelet with this delivery all for way under retail prices (links below). I choose colors that would match the scene well and still be comfortable with the hot weather.
If you want to check out the wish app you can use the promo code FINDS10 for 10% off
Get Ready for Your Closeup! Posing 101:
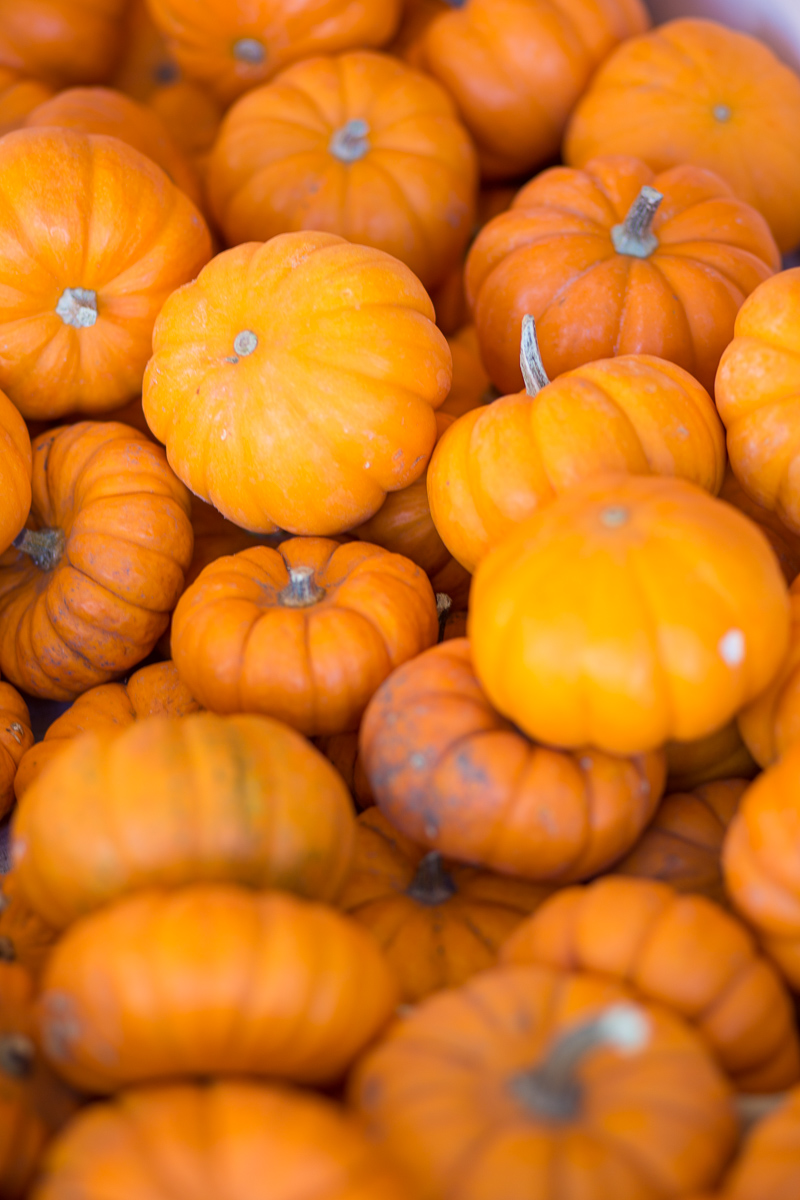
When I shoot with friends or family who aren’t doing this as frequently as the “blogger world” does, I often hear, “I don’t know how to pose.” But really, it isn’t that hard! To create fun poses, I usually start before I go by doing some research on google and Pinterest. I use common search terms like “pumpkin patch photoshoot” see what has already been done and then note things/poses/pictures that I don’t like, and things that I do like. For this specific shoot, I saw a lot of pumpkin patch photoshoots with your typical orange pumpkin and determined that I wanted to find some pumpkins that had a little more to offer the camera to create more depth for the pictures. Most importantly, experiment with different facial expressions and try some poses that convey motion or action. These can turn out so awesome!!


Innovate and Use What You Have Around:
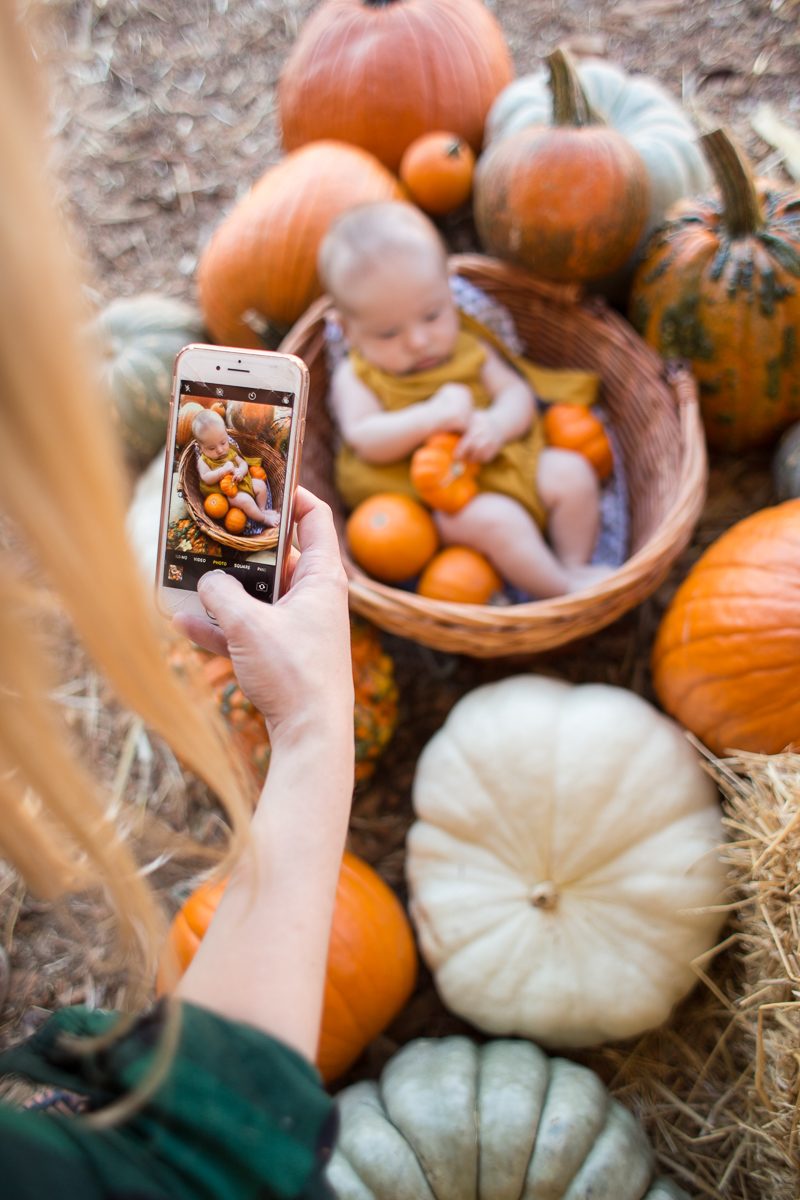
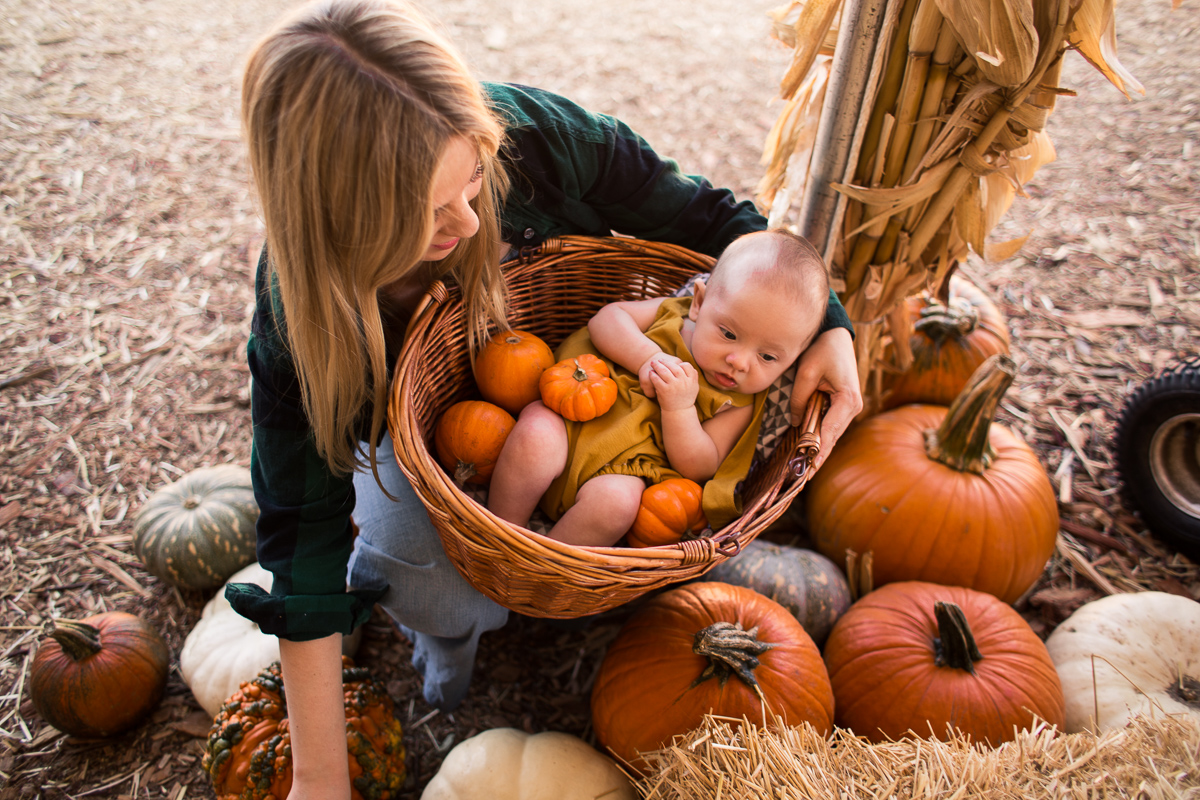
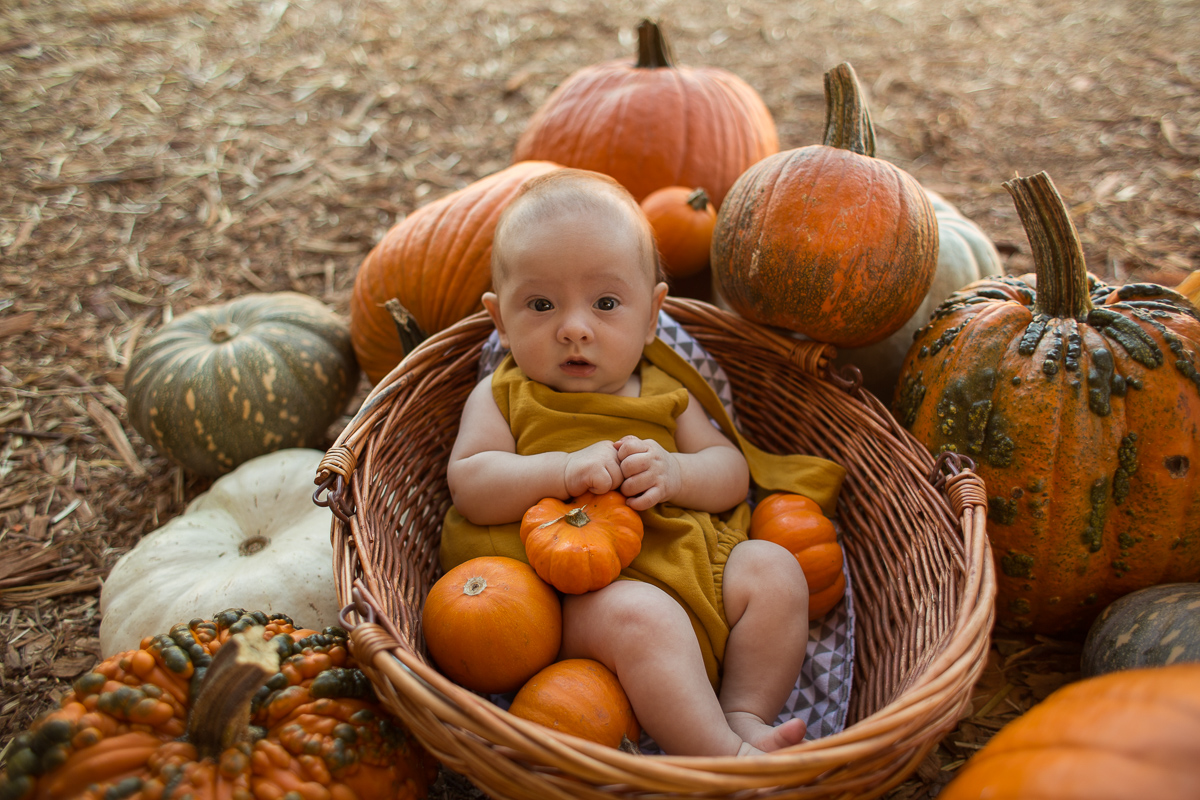
We quickly figured out that trying to prop Noble up on pumpkin wasn’t going to work. He is only 11 weeks old and can’t hold his head up all the way yet. We tried shooting him sitting on my sisters lap, but we ultimately came up with idea to put him in one of the pumpkin picking baskets! This allowed us to move him around all different locations without making him grumpy and grab a variety of shots. But seriously, how cute is he?


Find Someone You Feel Comfortable Around:
Whenever you get in front of a camera, you are really putting yourself out there. So it’s important to make sure that you feel confident! Luckily for me, my darling friend and Miss Washington Sister, just moved to LA and was excited to shoot together! She met us at the pumpkin patch and we both took pictures for each other. I’m comfortable enough with Nicole to tell her exactly what I wanted to create in an image, the angles I prefer, and backdrops that I want to try. Having someone that is patient enough to shoot for you to achieve YOUR vision is key to creating pictures that YOU will be happy with. I think this whole Instagram Husband thing is borne out of having someone you’re comfortable enough to “direct.” 🙂


Edit, Edit, Edit!
Finally, I think it’s important to note that a 99.9% of all the Instagram photos that you love, are edited off the camera to create the look that you want! I do all of my editing by hand in Lightroom (software for photo editing), but there are some great programs that are easier and quicker to use for iPhone edits. Snapsneed is my favorite app for editing iPhone pics.
I know that it can be really daunting to try to learn to use photo editing programs. All of the buttons and knobs and colors…it’s a lot. But I really encourage you guys to take it bit by bit, play with the sliders until you find something that looks good to you, and just keep doing this until you have your own editing flow and style. You will be pleasantly surprised with how awesome you can get your edits to look! Here are some before-and-after shots from this shoot.


Go Shoot!
Most importantly, you can’t get good at creating pictures unless you practice! Sometimes it is really hard to get all dressed up and go out in public and get in front of the camera, but have some fun, try some new poses and get out there! Try these tips to create awesome and productive photoshoots.